Wednesday, April 17, 2013

Tuesday, April 16, 2013

Things I Love | Garden 2013

Vintage bed spring for garden climber  |  Kelly Rae Roberts 

Rustic Garden Basket  |  BarbedWireMercantile

Room Essentials Garden Shoe - Gray  |  Target

Rustic Potting Bench  |  One True Love Vintage

State Flower Collection Screen Print  |  thimblepress

Love ya bunches!
~Megan

Monday, April 15, 2013

Spring Dreams

It officially feels like Spring here in small town Illinois!  With the rain and warmer temps we've been having, the grass is turning green and flowers are popping up.  Spring is such an exciting season!  It is filled with so much possibility.  I catch myself getting a little carried away daydreaming about all the things I would like to do during the warm weather.  It is so easy for me to get lost in possibility.  Therefore, I am declaring now that I will have a mindful spring, focusing on my VIP's!


Spring Dreams

Attach the rain barrels
Spring-time yard work (I love yard work....it's like meditation)
Train Wrigley to use a specific area to take care of business
Sew oodles of fun aprons
Paint four sets of cornhole boards
Ride my bike
Hammock reading
Spring cleaning
Kitchen island makeover
Take some "after" photos for fun before and after blog posts
Make lots of things for my first ever craft fair!!! {post to follow!}


Happy Monday Friends!

Love ya bunches!
~Megan

Wednesday, April 10, 2013

Wrigley the Dog


Adorable & Hilarious
Keepin' it Real.
Workin' it.

Love ya bunches!
~Megan

Monday, April 8, 2013

Spring has Sprung


{Spring has sprung...at least on my front door!}

I'm very much looking forward to the weather warming up!  Oddly enough I am also looking forward to doing some yard work and cleaning out the garage.  It is time to tune up and store the winter gear and get the summer gear ready for upcoming adventures!!

This week I plan to sew, paint, bike, golf, and clean up the yard!  Hip hip!  What are you planning this week?

Happy Spring Friends!!

Love ya bunches!
~Megan


Thursday, April 4, 2013

DIY | Mini-Bunting

Two DIY's in one week!?  Hip hip hooray!!

Continuing with my scraptastic theme we'll be making a mini-bunting!


The Goods:

  • Scraps of fabric {i chose all cotton fabrics}
  • Twine or string
  • Scissors
  • Pencil
  • Bunting template {old file folder, used mac-n-cheeze box...whatev}
  • Craft Glue
  • Starch {optional}


The How To:

1.  I like to iron all my scraps and starch them to give them some rigidity and it also keeps them from fraying as much.

2.  Draw and cut out the shape you would like your bunting to be, keeping in mind you will need it to be about 1/4" longer on top to fold over the string later.  I wanted traditional triangles so I drew my shape on an old file folder.  Since it is a mini-bunting I made it about 2" in length plus the 1/4" for the fold-over.

TIP: When making a triangle bunting template that you intend to fold the top, it helps to draw the template like a diamond.

3.  Cut a length of string leaving extra length on the ends for securing to it's future home.  

TIP:  Better to have too much on the ends than not enough.

4.  Cut out lots-o-flags to accommodate the length you want your bunting to be.


5.  With right side facing down, finger press or iron the top edge of each flag 1/4".


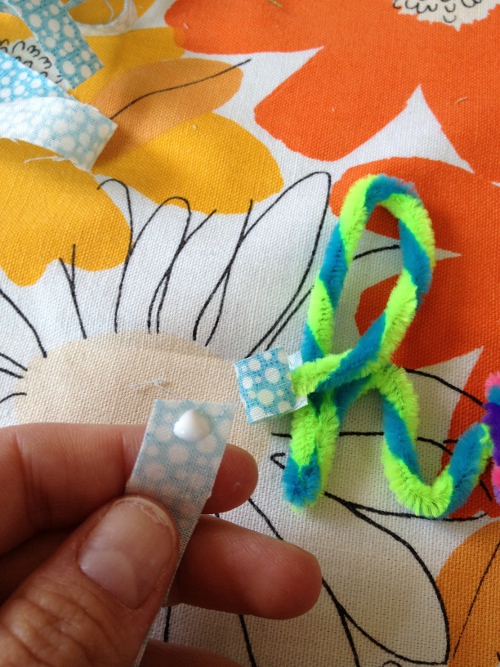
6.  Apply a bead of craft glue to the inside crease, place string {a ways in to leave a tail for the tie}, and smoosh.


{nice smoosh}

{I placed my flags about 3/4" apart.}

7.  Continue gluing and smooshing until you reach the desired length. 


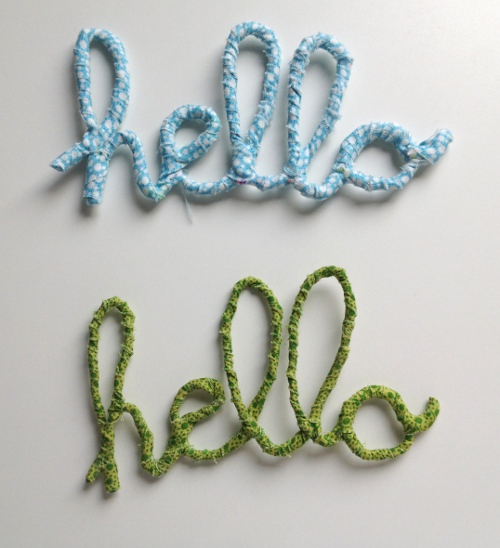
Ta-Daaaa!  You just completed another scraptastic project!


Love ya bunches!!
~Megan


Tuesday, April 2, 2013

DIY | Fabric Covered Wire Words

Hello Friends!

Yesterday you caught a glimpse of my fabric scrap stash, and today a super fun DIY that utilizes that stash!  Hip hip!  Let's git to it!

The Goods:

  • Wire {16 Gauge or beefier} or Regular Craft Pipe Cleaners
  • Strips of fabric 3/8" - 1/2" Wide {I used cotton but you can totally get creative!  Yarn perhaps!  they don't have to be perfect and the length doesn't matter much}
  • Craft Glue
  • A print of the script you would like to use as a guide {Or you can freestyle the lettering}
  • Scissors
  • Wire-cutters {I prefer heavy duty since they are made of a stronger metal and don't damage easily}
  • Pliers {whatever you think will help you bend the wire if necessary}

The How To:

1.  Decide what word you would like to make.  You can write the word out with marker or print one from the web you find interesting.  OR  you can totally freestyle and make it up as you go!  I chose "hello" for a template and then freestyled the word "pancake."

2.  If you are using pipe cleaners twist them together to make them stronger.  If you are using the other wire you can start to uncoil it a little bit to begin forming the letters.


3.  Now it is time to bend out some letters!  During this step you may want to use the pliers to form some of your curves. 


Ta-Da!


4.  Snip the end if necessary.

5.  Now it is time to wrap!  First I cut off small bits of the strips of fabric to cover the ends of the letters.  I put glue on the fabric and samiched it on and then wrapped it when I got to that section.


6.  Then add a bit of glue to the long strip of fabric and Wrap Wrap Wrap Wrap!


7.  If it looks like a fuzzy little caterpillar like mine did at the end do not fret cause you can trim it up.


8.  YOU DID IT!! 


{hahahaha!}

Now that was a scraptastic project!

Love ya bunches!!
~Megan


Monday, April 1, 2013

Potholders!

Catchy title right!?  HAHA!  I have been wanting to try my hand at quilting for a while now.  Instead of jumping right to a big project I thought it would be better to experiment with some mini quilted projects...POTHOLDERS!  Super fun!  First I measured a square of batting and Insul-Bright to the size I wanted the potholder to be.  {I chose a 9" x 9" square.}  Then I dove into my fabric scrap stash and these are what I came up with!  On the first two I made them sans-binding and just turned them inside out and top stitched the edges.

I found a scrap of material that had a fun graphic print that would make a neat focal point for the potholder.  I love the vibrant colors in the print and found some other bright material to complement it.

After I made my quilt square, sewed up the samich, flipped it right side out, top stitched the edges, I then did some machine stitching through the entire potholder.

I did the same thing to this potholder and just experimented in a different design.

{Orange ya glad potholders protect your hands?} hahaha!

This was a fun experiment with binding!  I found a couple of tutorials on YouTube that gave simple approaches to binding a quilt and potholder.

{I did some top-stitching before I added my binding.}

For this potholder I started at the top left and sewed each piece directly to the batting instead of creating the quilt block and then sewing it to the batting.

Since I sewed the fabric directly to the batting I left the back piece just to be stitched along the edges.

There are so many ways to make a potholder!  It has been a really satisfying project because I could experiment with my scrap material trying different techniques and it didn't take much time to complete. 

While I did utilize some of my scrap material I still have quite a bit left and I have come up with some really fun ideas for more scraptastic projects!!  Check back tomorrow for another scrap stash project!!

Love ya bunches!
~Megan